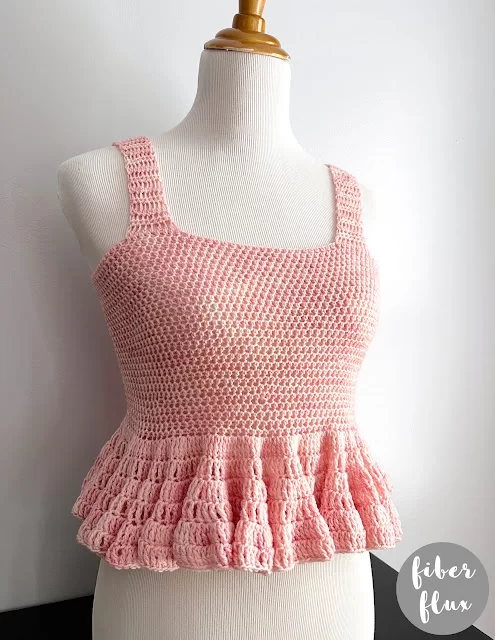
Strawberry Cream Peplum Tank
The Strawberry Cream Peplum Tank is a gorgeous warm weather top that is easy to crochet! This elegant sleeveless top is constructed with a simple bodice tube, accented with fabulous ruffles and straps are crocheted right on. Easy stitches make this lovely top a breeze too!
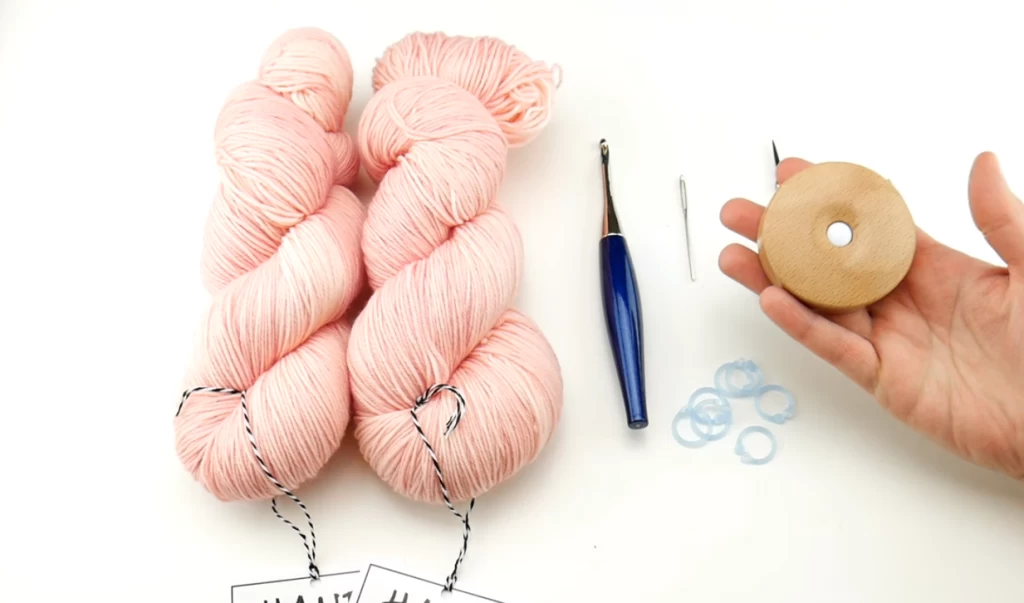
Materials:
5.0mm H crochet hook
874 yards of sock weight yarn (I used 2 skeins of Global Backyard Sock in the “Cherry Blossom” colorway)
Tapestry needle
scissors
Tape measure
Removable stitch markers
Sizing:
35 inch bodice circumference
7 inch body height
5 inch ruffle height
12 inch total height (not including straps)
Each strap is 11 inches long
*Note: this top is fully customizable–you can change the circumference height, length of ruffles, strap sizing, etc. The sizing mentioned above are the dimensions of the tank in the photos.
Instructions:
Part 1-The Bodice
Ch 150 (note, make a chain the circumference you need, there is no special stitch count, so you can make any number of chains you want)
Join in the furthest chain from the hook with a slip stitch to join to work in the round. Be careful not to twist your chain.
Round 1: Ch 2, then work a hdc into each chain. Join the topmost chain with a slip stitch to close the round.
Round 2: Ch 2, then work a hdc into each stitch. Join the topmost chain with a slip stitch to close the round.
Work round 2 for 7 inches. Do not fasten off and move to part 2.
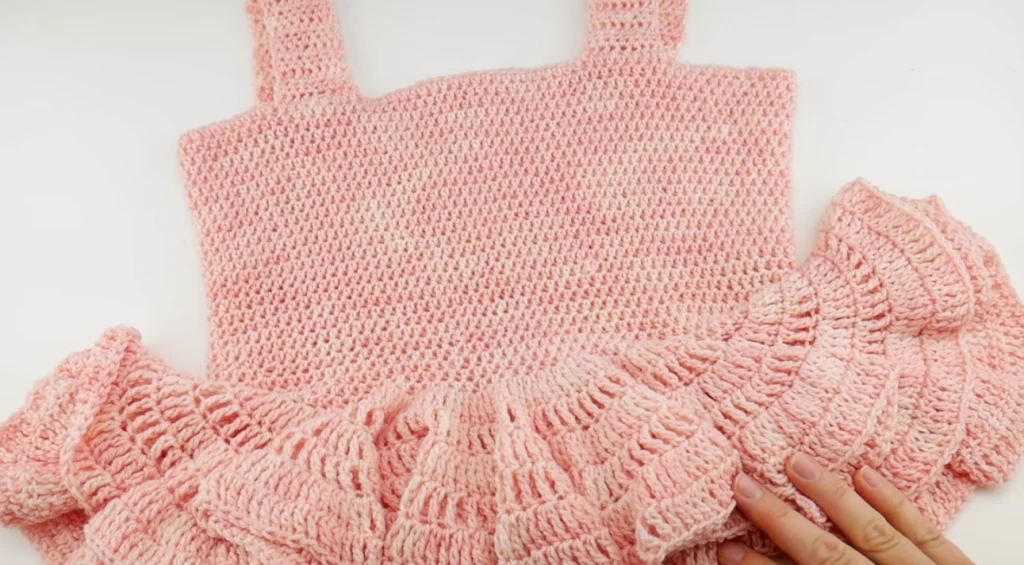
Part 2-The Ruffled Peplum
Round 1: Ch 4, then work 2 en into each stitch. Join the topmost chain with a slip stitch to close the round.
Round 2: Ch 4, then work 1 tr into each stitch. Join the topmost chain with a slip stitch to close the round.
Repeat rounds 1 and 2 until the ruffle section is about 5 inches tall (I worked 6 total rounds). If you like, you can keep repeating if you need it to be longer.
Part 3-The Straps
Place two stitch markers per strap of equal distance apart. You can count the stitches or simply measure. For strap width, you can make them narrower by having less stitches in between each set of stitch markers or wider by having more stitches in between. Just make sure the same number of stitches are in between both straps so they are the same. Straps shown are 8 stitches wide.
Row 1: Tie yarn into the stitch marked by the right stitch marker on one of the straps and ch 2. Work a hdc into each stitch and when you get to the next stitch marker, work a hdc into that one as well.
Row 2: Ch 2 and turn. Work a hdc into the first stitch and each stitch across, and a hdc into the topmost ch of the turning ch.
Repeat row 2 until strap measures about 11 inches or desired length.
Fasten off, cut yarn leaving a long tail, and repeat for the second strap.
Sew both straps to back of tank. You can count stitches, measure, or just “eyeball” it for placement. Using the long tail to seam, turn tank inside out, then whip stitch straps to tank. You may find it’s easier to use your stitch markers to hold everything in place as you seam them on.
Weave in any ends that remain and you’re ready to wear!
Click below to watch a full video tutorial on how to make this project:
Leave a reply


