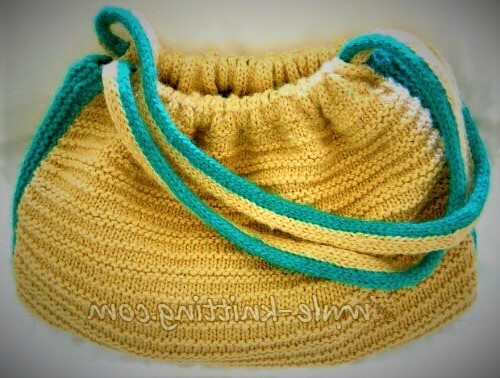
This knitted bag is a simple to knit pattern that’s great for beginners and all knitters who would like to make one. Bags are always a fun knitting project and simple to create.
It’s even easy enough so you can sit and watch TV or chat with your friends. I like that kind of knitting pattern don’t you?
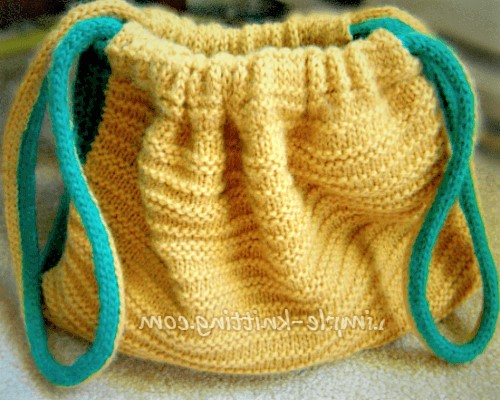
This is a casual knit bag for those running around days and yet it’s big enough to hold everything.
Knitted Bag Pattern Details
Skills Required: Knit and Purl
Materials: 450 yards worsted weight yarn and 1 ball of contrasting yarn
Needles: US 5 (3.75 mm) and US 7 (4.50 mm)
Gauge: 4 sts and 7 rows = 1 inch (But don’t stress too much over gauge)
Finished Measurements: Lying flat approximately 16 ” X 10″
Abbreviations: RS = right side, WS = wrong side, sts = stitches
Notes: I made a 1 inch hem leaving the ends open so that I could slide the handles through easily. This hem will be folded over to form a pocket for the handles.
Slip the first stitch of every row as if to knit and knit the last stitch of every row. If you don’t want to knit the handles you could look in your local craft store for some prettier ones.
There is a bottom gusset as well as side gussets. I used them on my big ol knitting bag and explain what they are.
I tried to find some but unfortunately I couldn’t find any so I just knit them instead.
Knitted Bag Pattern
Starting with hem and size 5 needles cast on 67 sts.
Work in Stockinette stitch for 9 rows ending on a knit row.
Next Row: Switch to size 7 needles and with WS facing: Knit (This marks the fold line for the hem)
Stitch Pattern used for bag
Row 1: Knit
Row 2: Purl
Row 3 – 7: Knit
Row 8: Purl
Row 9 and 10: Knit
This forms pattern. Work pattern until work measure 10 inches from fold line of hem. (This should be about 24 ridges of Garter stitch not counting the hem line row)
Next Row: Knit
Form Bottom Gusset
Next Row: WS – Knit (This marks the gusset by creating a garter st. ridge)
Work 14 rows of Stockinette st. to form bottom gusset or approximately 2″ ending with a knit row.
Next Row: WS – Knit (Marking gusset again)
Continue on with stitch pattern knitting up other side of bag for 10 inches
Next Row: (Beginning of hem line) WS – Knit
Next Row: Switch to size 5 needles and knit Stockinette st. for 8 rows for hem.
Bind of loosely
Side Gussets: (Make 2)
Note: When knitting side gussets you’ll be matching the width of the sides to the width at the bottom of bag so it’s all symmetrical.
And a little reminder, you can make both side gussets at the same time by using 2 balls of yarn or by using both ends of 1 ball.
Cast on 8 sts. And work garter stitch for 10 inches (length of side of bag) and cast off loosely.
Finishing
Seam gussets to the bag. Weave in ends. Lightly steam the hem so it lies flat and sew into place leaving ends open for the handles.
Bag Handles
I made I-cord handles in each color then seamed them together. I was trying something a little different. You can make them any length you like.
When you’re finished just work it through the hem on your bag. Then seam ends of I-cord handle together.
Alternate Bag Handle
If you would like to try another very simple knit handle you can cast on 8 sts and knit garter stitch until you reach the length you would like for the handle.
Keep in mind that garter stitch is very stretchy so it will lengthen when you slip it on your shoulder. The nice thing about this handle is that it will lie flat on your shoulder and won’t slip off.
Lining Your Knitted Bag
It isn’t always necessary to line a bag. It just depends what you will be using it for.
I have to admit that I don’t sew very much but I did decide that I would line this particular bag.
You can use a sewing machine to seam the fabric or if you prefer you can also hand sew it.


